This tutorial shows you how to automate the rigging and skinning of animation characters using a Python script. This script consists of three main steps: First, name your project in the first tab, which is face_name by default.

1. Selection of joints or primary controls:
To start working from the script, you must introduce three joints or primary controls as data to the script.
These three joints include the joint or the main control of the head and the joint and the joint of the lower jaw control or the upper jaw control (which is optional and you can not choose it) of the head. The upper jaw depends on the type of primary joint you have.

This makes it possible to connect joiners and controls to these main controls at the end of the script to get better performance. Note: There is an optional option under these three buttons, which by selecting the head mesh, i.e. the 3D model of the series that is being rigged and washed, and pressing the button, a copy of the model is taken with all the features it had before, which means it is fully connected to the joints and controls. the previous ones while the new mesh is connected to them. This option is optional and you can do rigging on your original model, but the advantage of copying is that you have a new model with previous characteristics in addition to your original model, and you can use your original model in case of damage or other uses.

- Choose the name of the part of the head you want to rig. For this, you must choose one of the radii. Like the image below, lips are selected by default, that is, you can do sanding for the lips.
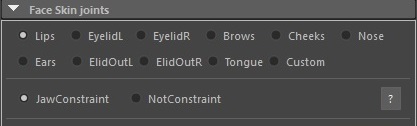
2. Initial jointing:
• The script detects the edges specified in the model and automatically places the joints in the appropriate places.
• This minimizes the need for manual rigging and saves you time and effort significantly.
For this, we have to select the part of the head that we want to joint in the radius section, for example, we select the radius of the lip and then in the settings section we put the number of controls we need and
in the number of joints section we put the number we need and Then, in the next numerical box, we determine the number of rings that is the range of skin selection for each joint.
At the end, there is a reset button, by pressing this button, all the numbers and changes made in this radius, for example, the lip, will return to its default state,
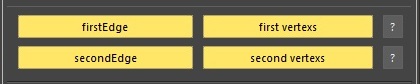
in the line below them, there are a number of tools for selecting edges and vertices to speed up the selection and change. raise it, at the end of this line there is a mirror button, which is not a tool of Maya itself, but a new tool to select the vertices of the opposite side with one click.

In the next line, there are two buttons, in the first button we select the edges of the upper lip (first Edge) and then press the button to save them,
of course, the second time it will be named (first_curve Lips).
The button in front of it is for selecting the number of vertices or places that are going to be scanned. First, we select their range and then press the button until the number of selected vertices is displayed in the button.
Its name will be (first vertexs) and to reload the form with the name (vertAll_F Lips).
In the next line of the first button on the left, you must select the edges of the lower lip (second Edge) or (second_curve Lips), which means the area to be jointed, and the button in front of it is for the area of the vertices that are going to be skinned. (vertexs second) or (vertAll_S Lips )
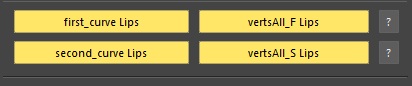
After completing the above steps, you must press the joint and skin create button to start the jointing operation.

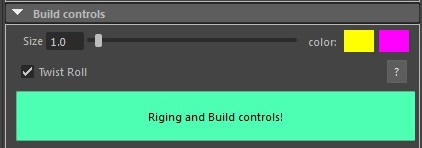
3. Adding initial controls:
• After creating joints, the script adds initial controls for each joint.
• These controls allow you to easily animate your character.
In this next step, after setting the controls and activating the checkboxes and choosing the color of the controls and changing the appropriate size for the controls, it is enough to click on the Build Controls button (Rigging and Build Controls) so that the initial controls are created automatically.
4. Building Advanced Controls:
• Finally, the script allows you to add final controls to fine-tune your character's movements.
• To do this step, before clicking on the final controls button, you must enter the settings of the distance between the animations and the amount of movement of the controls (Animate) numerically,
and then press the Create Final Control button (Create Final Ctrl) to create the final controls. The required vanities should be added to them.

Advantages of using this script:
• Speed: significantly speeds up the rigging and skinning process.
• Accuracy: Joints and controls are precisely placed in the right places.
• Ease of use: The script is easy to use, even if you have no prior rigging experience.
5. Follow the steps:
• The script will ask you to select the edges of the model to which you want to add joints.
• After selecting the edges, the script automatically creates the joints and controls.
• If desired, you can also add final controls.
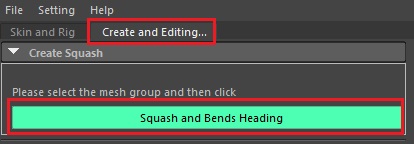
6. Adding Squash Stretch and Bending in the head: To add the ability to adjust the head itself in the second tab, there is a button that you must first select the head mesh or the meshes folder, and then by pressing the button, this feature will be added to the head.
7. Adding ready-made animations by moving the controls:
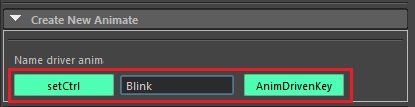
the script has a section in the second tab that can be selected by selecting a control as the addition of a new attribute (set Ctrl) and selecting a name for it (Blink). Then by moving the controls head to Do the mode you need
and at the end by selecting all the controls that were moved and pressing the (Anim Driven Key) button, their animation will be saved inside the control with the name you chose, and then you can access them easily and with one movement of several controls you move
8. Editing the skin and weights of the head model:
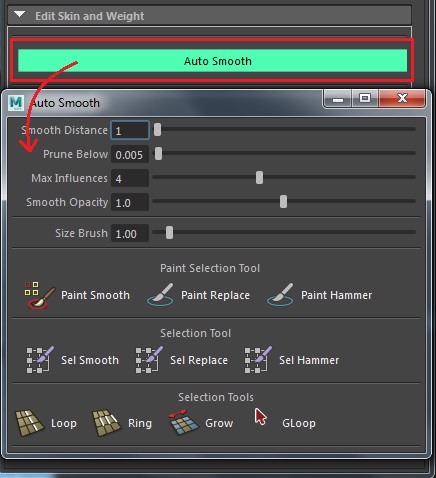
in the second tab, there is a section that contains a series of settings to change or edit your skinned mesh, the ability to soften the selected parts or you can use a brush to make those parts softer. . By pressing the (Auto Smooth) button, a new form will open and the settings will be available to you.
With Paint Smooth or Sel Smooth, you can soften the weights of the joints.
By replacing (replace paint) or (Sel replace) the selected vertices and weighting them to the nearest joint to the vertex, this is done automatically by selecting a vertex and clicking on replase or by using a brush.
Or the Hammer option, which can be done easily by selecting the vertices, or you can do this with a brush. In addition, the vertex selection tools are available below them to make the work easier.
9. Animate your character:
• You can now animate your character using the controls that the script created.
Tips:
• Before using the script, make sure your character model is properly UV-unwrapped. (not required)
• Before using the script, your model topology must be done correctly. (not required
If you have problems with the script, you can refer to the documentation in the script file for help.
Images:
Here are some images to help you understand the steps of the tutorial:
Image 1: Selecting Edges:
[Selecting Edges to Grind Top Edges]
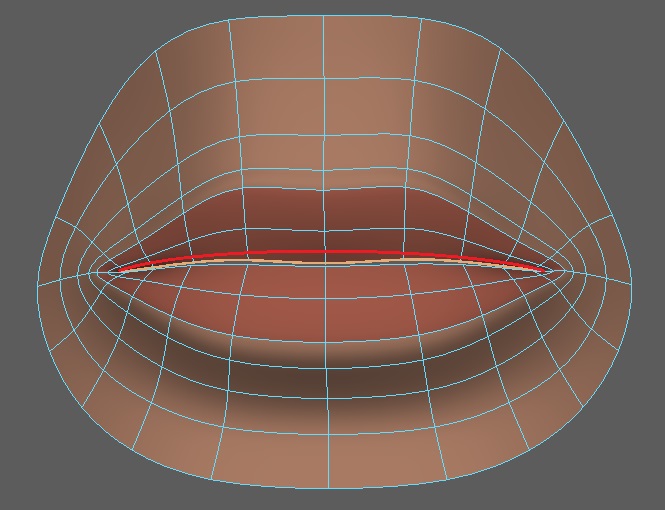
[Selecting the edges to rig the bottom edges]
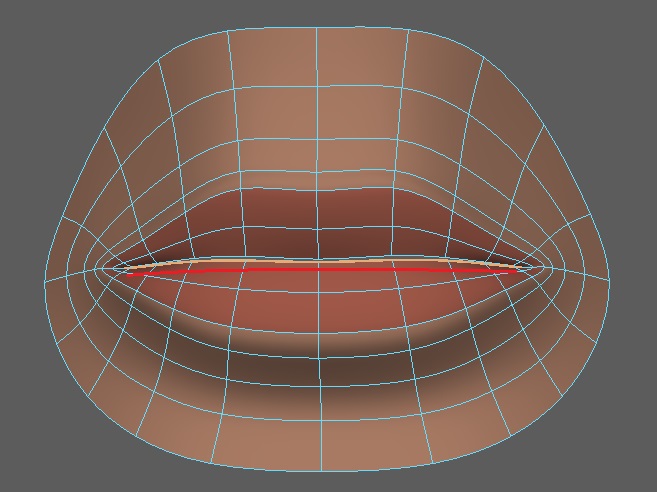
Image 2: Creating joints:
[image of automatically creating joints]
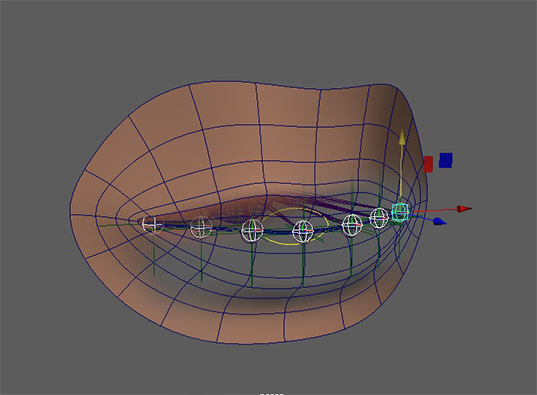
Figure 3: Adding controls:
[Image of adding controls to joints]
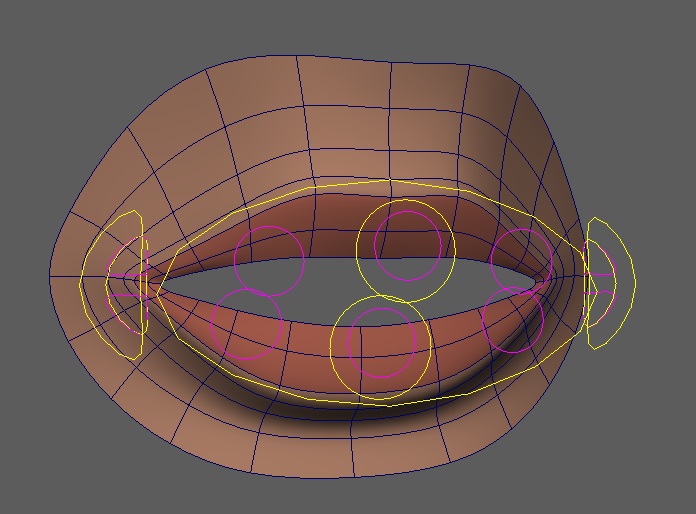
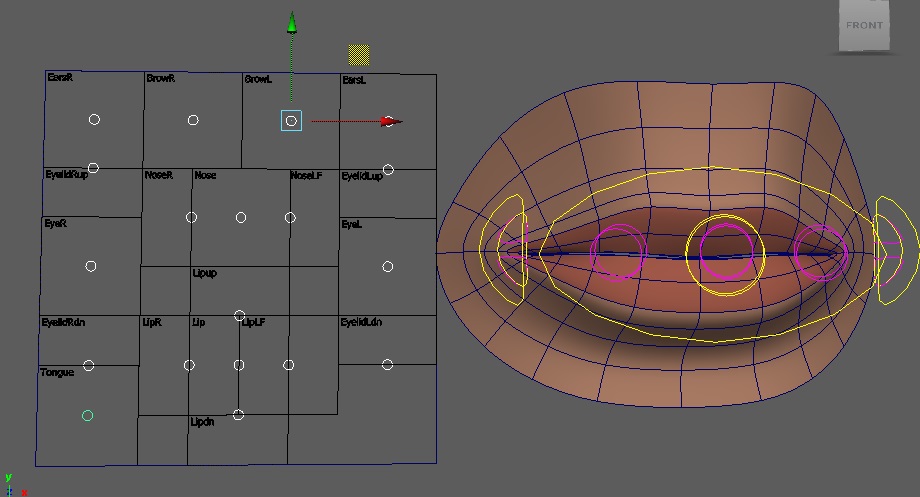
Image 4: Final controls:
[Image of final controls for animation]
I hope this tutorial is helpful!